
Wooden ceilings can instantly elevate a room, adding warmth, character, and that cosy cabin vibe, even if your home is in the middle of a bustling city.
But as beautiful as they are, they do require a bit of care to keep them looking their best.
If you’ve ever stared up at your ceiling, wondering where to start without turning it into a DIY disaster, don’t worry, because you’re in the right place. We’re going to walk you through the easiest, most effective ways to clean it. So, keep reading.
Check What You’re Working With
Before you grab the ladder and start swinging your duster around like a swashbuckling pirate, you need to know what you’re dealing with.
Not all wooden ceilings are created equal, and knowing the type of wood, the finish, and any potential problems can save you a lot of frustration later on.
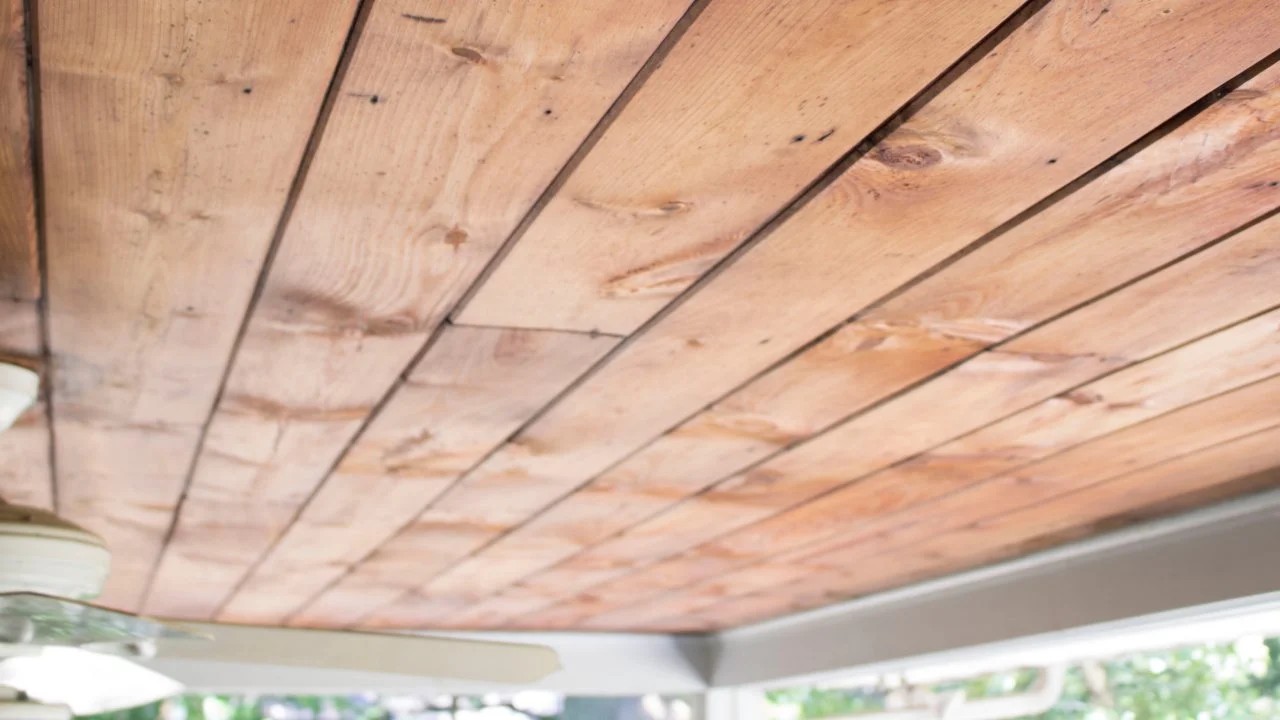
First things first, check the material your ceilings are made of. Softwoods, like pine, can dent and scratch easily, while hardwoods, like oak or teak, are more resilient but need more specialised oils to stay shiny.
Next, have a good look at the finish. Is it varnished, lacquered, or left natural? If you’re dealing with a glossy varnish, you can safely clean your ceiling with a soft cloth and a mild solution.
On the other hand, untreated wood soaks up oils and water, which can lead to stains or even warping.
Prep Like a Pro
Your safety should always come first. Since you’re trying to clean high surfaces, you’ll need a sturdy ladder or step stool—no heroic balancing attempts on wobbly furniture!
Also, wear gloves and a dust mask, especially if there are dust and cobwebs hiding allergens or mould spores. And don’t forget goggles if you’re using sprays.
For your toolkit, you’ll need soft cloths, microfibre dusters, a gentle wood cleaner, some wood oil or polish, and a vacuum with a brush attachment for those awkward corners.
Finally, take a good look around before you start. Check for any loose panels, cracks, or signs of water damage so you can repair or treat them before you start cleaning.
Otherwise, you might accidentally make a small problem worse or end up with a very expensive indoor waterfall situation.
Sweep, Wipe, Repeat
The secret to keeping your wooden ceiling looking great is consistency. Dust, after all, doesn’t take a holiday.
Weekly, use a soft duster or microfibre cloth, and move it gently along the grain of the wood to avoid scratches. For tricky spots, consider an extendable duster.
Cobwebs can accumulate faster than your laundry, especially in less-visited corners of the room. A gentle sweep with your vacuum attachment or feather duster will do the trick. Just be careful not to poke too hard at the wood.
In any case, domestic cleaning experts recommend steering away from all-purpose products; they can strip finishes or leave streaks. Instead, stick to wood-specific cleaners or a mild soap solution.
Lightly dampen a cloth and wipe along the wood grain. Rinse the cloth often and change your water if it gets murky.
Deep Clean and Remove Stains
Sometimes, regular dusting isn’t enough. Stains, mould, or water marks need more targeted techniques.
Don’t worry, though, because deep cleaning doesn’t have to mean a full-on renovation. Here are some common issues and how you can fix them:
Water Stains and Discolouration
Water stains are the bane of wooden ceilings. The first step is to blot, not scrub, any fresh spills to prevent them from soaking in.
For older marks, a little fine steel wool or a specialised wood cleaner can lift discolouration. But always patch-test your cleaner in a hidden corner first. Nobody needs an unwelcome surprise on a Sunday morning.
Mould and Mildew
Mould and mildew are annoying and persistent, but they’re not invincible. You can use a mild vinegar-water mix or a wood-safe mould cleaner to get rid of them.
If the mould has been sitting for a while, you’ll need to gently scrub the area with a soft brush. And remember, always remove the spores completely, instead of just covering them up with polishes and sealants. Otherwise, they’ll come back even faster.
Soot and Smoke Marks
Smoke stains tend to sneak up on wooden ceilings from fireplaces, wood stoves, or even kitchen smoke. They leave a grey or yellowish film that makes your beautiful wood look tired and dull.
The fix? Dust the area first to avoid smearing the soot, then wipe it gently with a soft cloth and a wood-safe cleaner, following the grain.
Finish things off with a light polish or oil to restore the wood’s natural glow and protect it from future smoke. If your ceiling is frequently exposed, keep the room ventilated. It’ll save you from future scrubbing and keep your ceiling looking great.
Bring Out the Shine
Cleaning is step one, but if you want your ceiling to look amazing for years to come, you need to protect it from long-term wear. If you’re not sure where to start, try the following hacks:
Polish and Oil the Wood
A suitable wood polish or oil can breathe new life into dull surfaces, enhance the grain, and offer some protection against drying out.
Use it sparingly and evenly, following the direction of the grain. And no, you don’t need to stick to a rigid schedule—just a couple of coats every now and then can make a world of difference.
Apply Sealants or Varnish When Needed
If your ceiling is untreated or the finish is wearing off, a sealant or varnish can prevent moisture damage and extend its lifespan.
Choose products specifically designed for wood ceilings, and consider professional help for large surfaces. Your ceiling will end up looking more polished than a newly waxed dance floor.
Protect the Wood from UV Exposure and Moisture
Sunlight and humidity can do a number on your wooden ceiling if you’re not careful. Curtains, blinds, or UV-protective films can reduce fading, while dehumidifiers or good ventilation will keep warping and mould at bay.
With a little care, your ceiling will age gracefully instead of turning into a patchy, peeling eyesore.
Conclusion
So there you have it—your wooden ceiling maintenance masterclass. Now, you can tackle everything from light stains to mould so effectively that your guests will assume you hired professionals.
And the best part is that you can finally avoid awkward eye contact with a dignified, ‘Oh, I’m just admiring my ceiling.’